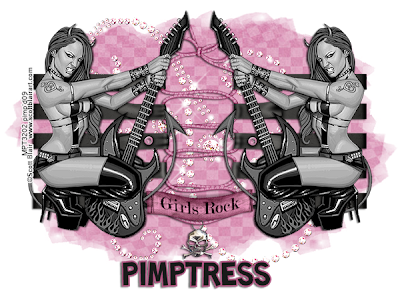
 *This is an animated Tutorial, To View the animated tag click here*
"Girls Rock"
What you need:
Tube of choice, I am using artwork by Scott Blair and you can purchase his work here
Scrapkit by Candy Kisses Designs, "Glam Rock" and you can purchase her kit here
Mask of choice
Font of choice, I used Toonish (big surprise, I know)
Graphic Program of Choice, I use PSPX2
Animation Shop
Xenofex2: constellation
Basic knowledge of both programs
Let's Begin!
1. Open a transparent image 600x600 pixels
Open all of your supplies
2. C/P the ribbon/skull as a new layer
Add drop shadow
Apply your favorite mask to a paper of choice
C/P the masked paper behind the ribbon layer
C/P the diamond swirl as a new layer above the masked paper layer
3. C/P your tube of choice, re-size as needed
I choose to make my tube B&W
Add drop shadow
Duplicate tube and mirror image
C/P the "Girls Rock" banner as a new layer
Re-size as needed
Add drop shadow
4. Add your copyright info an name now if you do not know how to
add text to an animated tag
DO NOT MERGE LAYERS!
We will now begin applying the filter to the diamond swirl,
Creating each frame of the animation 1 at a time.
5. Highlight the diamond swirl
Go to your plug-ins and apply the Xenofex2:Constellation
To the diamond swirl
I used the Bling! Bling! setting, and star size to 12
Once you have done this the first time save image as frame 1
Hit the "Un-Do" arrow
Now repeat this step until you have at least 3 frames total.
Hit the "Random" button within the plug-in to change the speed without
Changing the settings.
6. Now open animation shop
Open your frames into the animation wizard
Hit play and if you are satisfied, save and you are done!
This tutorial was written on April 8th, 2009 at 12:30 AM by Pimp'd Tagz
