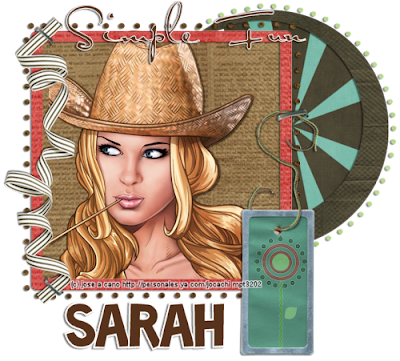
"Simple Fun"
What you need:
Tube of choice, I used artwork by Jose Cano and you can purchase his work here
Scrapkit, "Retro Funk" by Sarah and you can get her kit here
She also has a wonderful matching freebie add-on and you can grab that here
Font of choice, I used Toonish and Satisfaction
Graphic program of choice, I use PSPx2
Let's Begin!
1. Open a new transparent image 600x600
Open all of your supplies
2. C/P the square frame of choice
C/P the circle frame as a new layer behind the square frame layer
Using your selection tool, rectangle, trim away the part of the circle frame showing in the square frame
Create a new raster layer behind both frame layers
Using the lasso tool, trace along each frame, one at a time
C/P each paper choice into the selection
3. C/P the tube of choice as a new layer above the paper layer
Trim as needed
Add drop shadows to the tube and frame layers
4. C/P any other elements of choice
I used:
Staple
Ribbon
Rectangle Tag
Add drop shadows as needed
Add copyright info and name and you are done!!
This tutorial was written on May 16th, 2009 at 10:30 PM by pimp'd tagz
