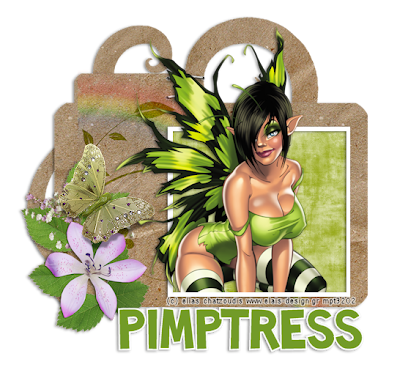
**Note About Video Tutorial**
All of the images shown in this video were already sized down.
So when using the scrap kit, you will need to re-size as needed.
Artwork created by Elias Chatzoudis and you can purchase his artwork here
Scrapkit, "Twilight Springs Eternal" by Oopsie Daisy you can get here
Font Used, Toonish
Graphic Program Used, PSPX2
**This Video May NOT be uploaded ANYWHERE,
All Copyrights Are Owned By Me**
If you can't view this, you can view the YouTube video here
Or Download the FULL SIZE Version here
1. Open a transparent image 600x600 pixels
Open all of your supplies
2. C/P the index card image
Add drop shadow
Mirror Rainbow image
C/P as a new layer
Trim as needed
Create a new raster layer
Using your Selection Tool, Rectangle, Trace an area for your "frame"
Flood fill the selection 1 color, I used white
Duplicate and flood fill that layer a second color
Resize that layer by 95%
Click that layer with your magic wand tool
Cut or delete that layer
"Cut" all other layers, ie. Rainbow, white area, index card
Now you should have a White Frame Area
Add drop shadow
Using your selection tool again, trace along the open area of the frame
Create a new raster layer behind all layers
C/P the paper of choice INTO selection
*this was not shown in the video*
3. C/P the flower of choice
Add drop shadow
C/P butterfly
Add drop shadow if needed
Add any other elements of choice
I also added the paper swirl behind all layers
Add drop shadow
Merge all layers visible
4. C/P the tube of choice
Trim as needed to give a 3-D appearance of the image popping out of the frame
Add drop shadow
Trim more if needed
Add copyright info and name and you are done!!!
This tutorial was written on May 18th, 2009 at 3:30 PM by Pimp'd Tagz

