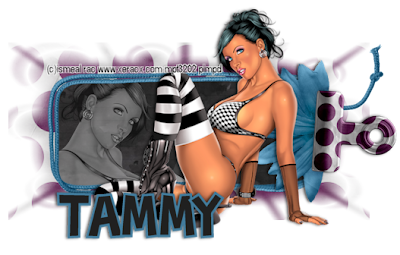
**Copyright of this video is owned by Pimp'd Designz**
You are not allowed to re-upload this video anywhere!
You can view this video here, YouTube or download the full size version here
Artwork by Ismeal Rac and you can purchase his work here
Scrapkit, Zirconia by TammyKat and you can purchase her kit here
Font of choice, I used Toonish
Graphic Program of choice, I use PSPX2
********************************************
Let's Begin!
1. Open a transparent image 600x600 pixels
Open all of your supplies
2. C/P frame of choice, I used the rope frame
Using your magic wand tool, select the area inside of the frame
Go to selections->modify->expand->8
Create a new raster layer behind the frame layer
C/P the paper of choice into selection
DO NOT MERGE
Choose a second paper of choice, if using the same frame as the one shown,
Use your selection tool, rectangle, create a rectangle selection on the paper and cut to that shape
Apply Mask of choice, the one I used was included with PSPX2
Merge Mask Layers
C/P behind frame/paper layers
3. C/P any elements of choice, I used the clipped flower
Add drop shadows
C/P the tube of choice
*The tube I used also had a Close Up included, so I made that B&W
And lowered the opacity and C/P on the black paper layer, trim as needed*
Add drop shadow
Add any copyright info and name and you are done!
this tutorial was written on May 22, 2009 at 2:25 PM by Pimp'd Tagz

