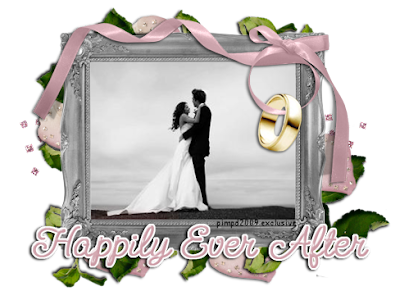
"Happily Ever After"
What you need:
Graphic of choice or the one I used here
*This is a photo-shopped image, and no creator is known*
Scrapkit, "I Do" by Sarah and you can grab that here
No Font Used
Graphic Program Of Choice, I use PSPX2
Let's Begin!
1. Open a transparent image 600x600 pixels
Open all of your supplies
2. C/P the frame of choice as a new layer
I used the large silver frame
Create a new raster layer behind the frame layer
Using your selection tool, rectangle, trace along the opening of the frame
C/P the image of choice INTO selection
Merge the image layer and frame layer down together
C/P any other elements of choice, I used
The glitter rose petal, greens, word art, glitter, and ribbon with wedding ring
Add drop shadow as needed
Add any copyright info and name and you are done!
This tutorial was written on May 9, 2009 at 1:00pm by Pimp'd Tagz
