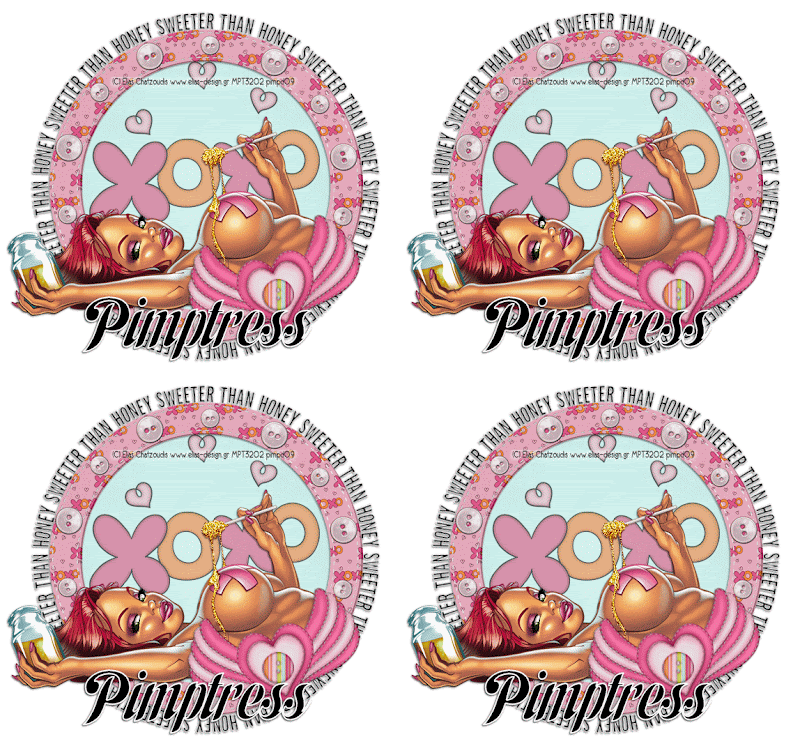
 *This tutorial is for an animated tag, please click here to view*
"Sweeter Than Honey"
What you need:
Tube of choice, I used artwork by Elias Chatzoudis and you can purchase his work here
Scrapkit of choice, I used "XOXO" by Butterfly Blush Designs and you can purchase her kit here or here
Animation Shop
Graphic Program of choice
Let's Begin!
1. Open a transparent image 600x600 pixels
Open all of your needed supplies
Create a new raster layer
2. C/P a circle frame of choice
Add drop shadow
Using your magic wand tool, select the open area inside the frame
Got to selection->modify->expand->expand by 6
Highlight the new raster layer you created at the start
C/P the paper of choice INSIDE selection
3. C/P the tube of choice
(this would work best if you use the exact tube)
Trim any areas that may need it
Add drop shadow
Add any other elements of choice
4. Merge all layers visible
Create a new raster layer
Drag it behind the tag layer
Go to your vector shapes and choose the eclipse shape
Re-shape as needed
Highlight the new raster layer
Choose your text tool
Type the wording of choice
Add drop shadow
Merge the Text-Vector layer down to the raster layer
Delete the vector tool layer
Merge all layers visible
Add copyright info and name if you do not know how to add
Text to an animated tag
5. Using your magic wand, select the area you plan on animating
Go to "Add/Remove Noise'
Choose Monogrom and any speed will do
I started at 85
Once you have it done it, save as frame 1
Hit the undo arrow and re-do it changing the % of noise.
Do this again until you have a total of 3-4 frames
6. Open animation shop
Add all of the frames you made into the animation wizard, choose your speed
I used "10"
Be sure that your background is set to transparent if you did not
Flood fill the tag
Play animation, if you are happy with it, save and you are done!
This tutorial was written on 02-11-09 at 1:55 am by pimp'd tagz
