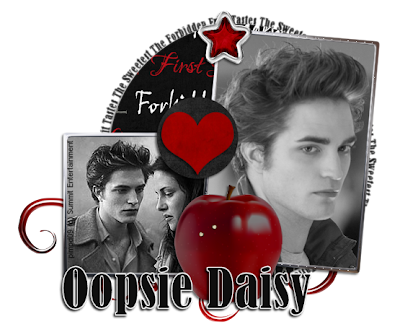
*Please click to view @ 100%*
"Forbidden Fruit"
What you need:
Graphics of choice
Scrapkit, First Bite, By "Oopsie Daisy" which you can get here
*Coming Soon to Tagger Size*
Tag Template # 84 by Missy and you can grab that here
Font of choice, I used Bernard MT Condensed
EyeCandy 4000 or higher {optional}
Graphic program of choice, I use PSPX2
Let's begin!
1. Open a transparent image ,600x600 pixels
Open all of your supplies
2. For each layer of the template, you will need to C/P as a selection to the papers of choice
Promoting the background, and then cropping to selection
C/P each new layer of the template on to your tag image (new image)
Add drop shadows to each layer
3. C/P the "Frame Background Layers" to the graphics of choice
Promote background
And Crop to selection
C/P to your tag
C/P the frame border to a paper of choice or apply the chrome filter
From EyeCandy as I have.
4. Apply any other elements of choice
I used the red gel swirl, star and apple
Add drop shadows as needed
5. Using a pre-shape Vector, Eclipse, Apply wording of choice around the
Circle of the template, creating a new raster layer above the circle of the template
I used "The Forbidden Fruit Tastes The Sweetest"
Merge all layers visible
6. Add any copyright info and name and you are done!
This tutorial was written on April 26th, 2009 at 6:00pm by Pimp'd Tagz
